Compatibility Checklist for Adding New Components
Adding new components to a laptop or desktop requires checking several compatibility factors to avoid installation issues and performance bottlenecks. This teaser outlines key areas to verify—CPU sockets, RAM type and capacity, GPU size and power, storage interfaces, cooling and peripherals—so upgrades and repairs go smoothly.

Upgrading or repairing a laptop or desktop involves more than buying a part that looks similar. Compatibility spans electrical, mechanical, firmware, and software constraints. Before you open the case, gather model numbers, service manuals, and current component specifications. Consistent planning reduces the chance of wasted purchases, system instability, and data loss. This checklist covers the main compatibility checkpoints and practical steps for diagnostics and troubleshooting.
Will my CPU match the motherboard?
The CPU must use a socket and chipset supported by the motherboard. Desktop platforms vary (for example, different socket types and chipset generations), while laptops typically have soldered CPUs or specific module replacements. Check the motherboard part number and manufacturer CPU support lists. Firmware (BIOS/UEFI) updates can expand compatibility but verify whether updates are available and stable for your board. Thermal design and VRM capacity also matter: a higher-power CPU can overload a board’s voltage regulation or cooling.
What RAM type and capacity are supported?
Confirm DDR generation (DDR3, DDR4, DDR5), module form factor (SO-DIMM for laptops, DIMM for desktops), maximum capacity per slot, and supported speeds. Mixing different speeds or timings can cause the system to clock down or become unstable. ECC versus non-ECC memory is another consideration for workstation motherboards. For best results, match modules in capacity and manufacturer where possible, and consult the motherboard or laptop manual for population rules and dual/quad-channel configurations.
Does the GPU fit and is the power sufficient?
For desktops, check physical clearance in your case (length, height, and thickness), PCIe slot type, and required power connectors. Confirm your power supply unit (PSU) can provide adequate wattage and the correct 6/8-pin connectors. Laptop GPU upgrades are generally limited to specific models or MXM modules and are often not feasible. Consider whether the motherboard and CPU will bottleneck the GPU; pairing a very powerful GPU with an older CPU can reduce performance gains.
Which storage options (SSD/HDD) are compatible?
Identify available interfaces: SATA, M.2 NVMe (PCIe), or M.2 SATA. M.2 slots may support NVMe only, SATA only, or both—check the motherboard/laptop specifications. For laptops, also check physical drive bay size and whether a caddy is needed. Upgrading to an SSD typically improves performance, but ensure the system firmware supports booting from NVMe if you plan to install an OS. Consider drive form factor (2.5”, M.2 2280, etc.) and any adapter requirements.
How should cooling and case fit be evaluated?
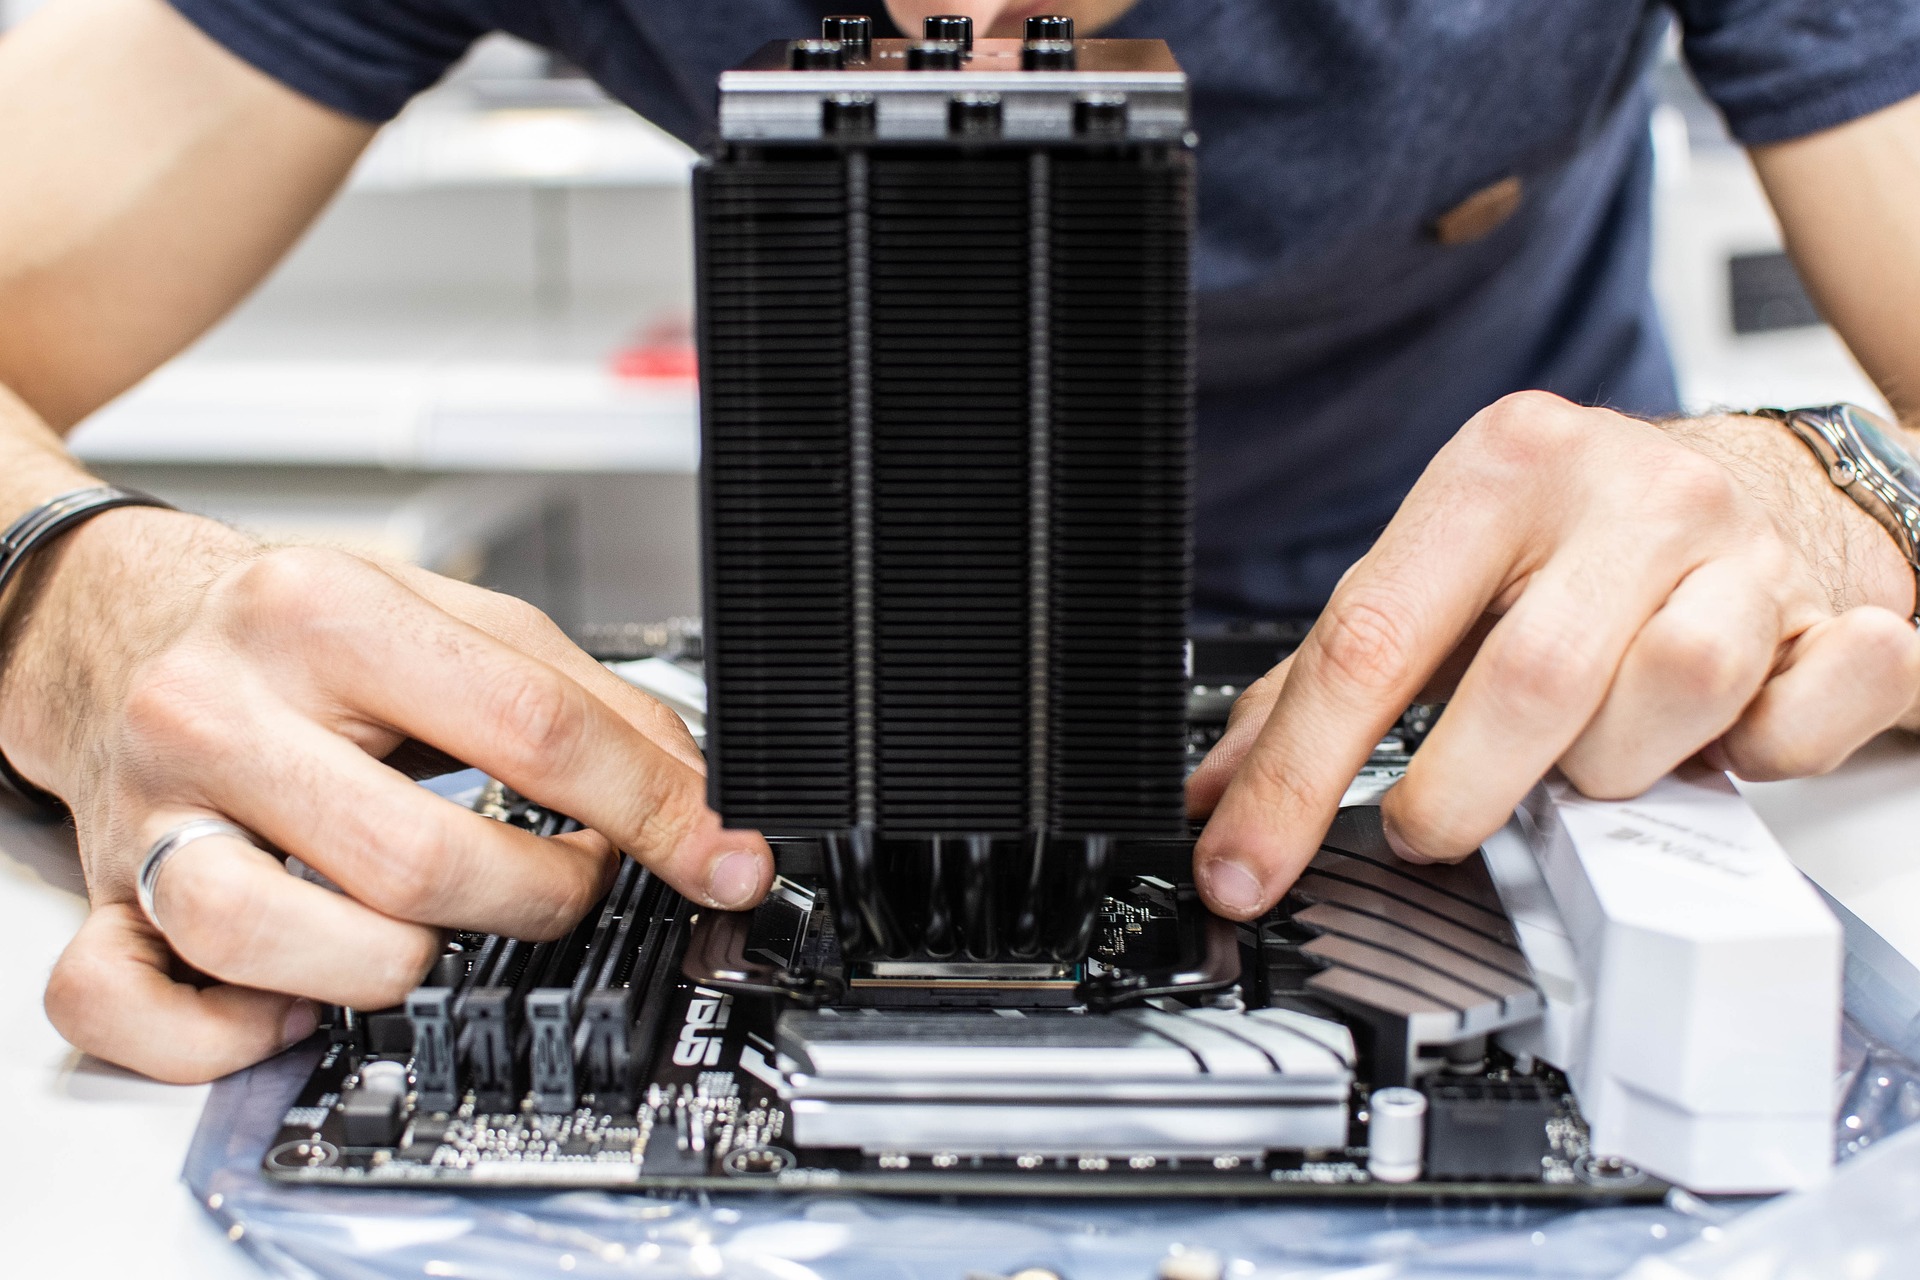
Cooling compatibility affects both reliability and sustained performance. Verify cooler mounting compatibility with the CPU socket, bracket spacing, and RAM clearance. For GPUs and additional fans, check airflow patterns and radiator mounting locations if using liquid cooling. In laptops, thermal solutions are matched to chassis design; replacing thermal pads or reapplying thermal paste can help but structural cooling upgrades are usually limited. Ensure fans, heatsinks, and radiators do not block other components or cabling.
How to diagnose and troubleshoot after installation?
After installing components, perform systematic checks: verify power connections, boot to BIOS/UEFI to confirm detection, and run memory and storage diagnostics. Use stress tests and temperature monitoring to confirm stability and cooling adequacy. If a system fails to boot, reseat components, verify BIOS settings (XMP profiles, secure boot, boot order), and test minimal configurations (one RAM stick, onboard graphics). Keep recovery media and backups available in case a new drive or firmware update causes issues.
The above checklist helps avoid common pitfalls when adding or replacing components. Always document existing settings, back up important data, and keep a record of serial numbers and firmware versions. If you’re unsure about electrical compatibility or warranty implications, consult manufacturer documentation or a qualified technician.
Conclusion
A methodical compatibility check—covering socket and chipset, memory type, GPU power and size, storage interfaces, cooling clearance, and post-installation diagnostics—reduces risk and improves upgrade outcomes. Proper preparation and careful verification ensure that new components deliver the expected performance and reliability without unexpected conflicts or failures.


